
Trigger conditions in power automate can play a pivotal role in preventing flows from triggering themselves. But without a solid knowledge of worflow definition language (WDL) it can be daunting to write your first one. Fortunately there is a handy trick I’ve used for a long time to make writing your first one exceptionally simple.
To start we have to make sure our trigger accepts trigger conditions. To do this go to the settings tab of the trigger and look for the trigger conditions heading.

With that confirmed fill in the required parameter for your trigger and then add a ‘filter array’ action after the trigger.

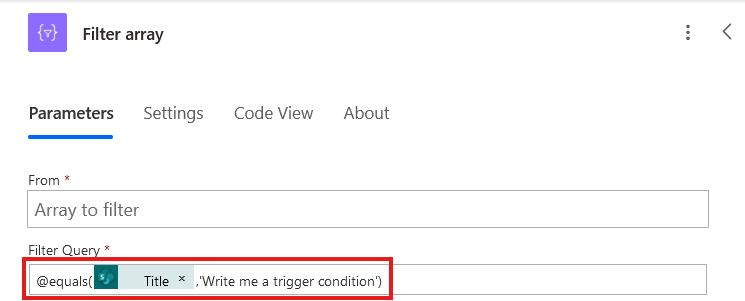
Now to get the trigger condition set up the condition you would like to check, in my example below I have chosen to test the Title of the item but this works with any column selectable in the dynamic content.

After setting this up press the ‘Edit in advanced mode’ section and you will be given the text for you to copy and paste into your trigger condition.
And with that we now have as trigger condition we can apply to our trigger as the filter array step has written it for us.


Leave a comment